
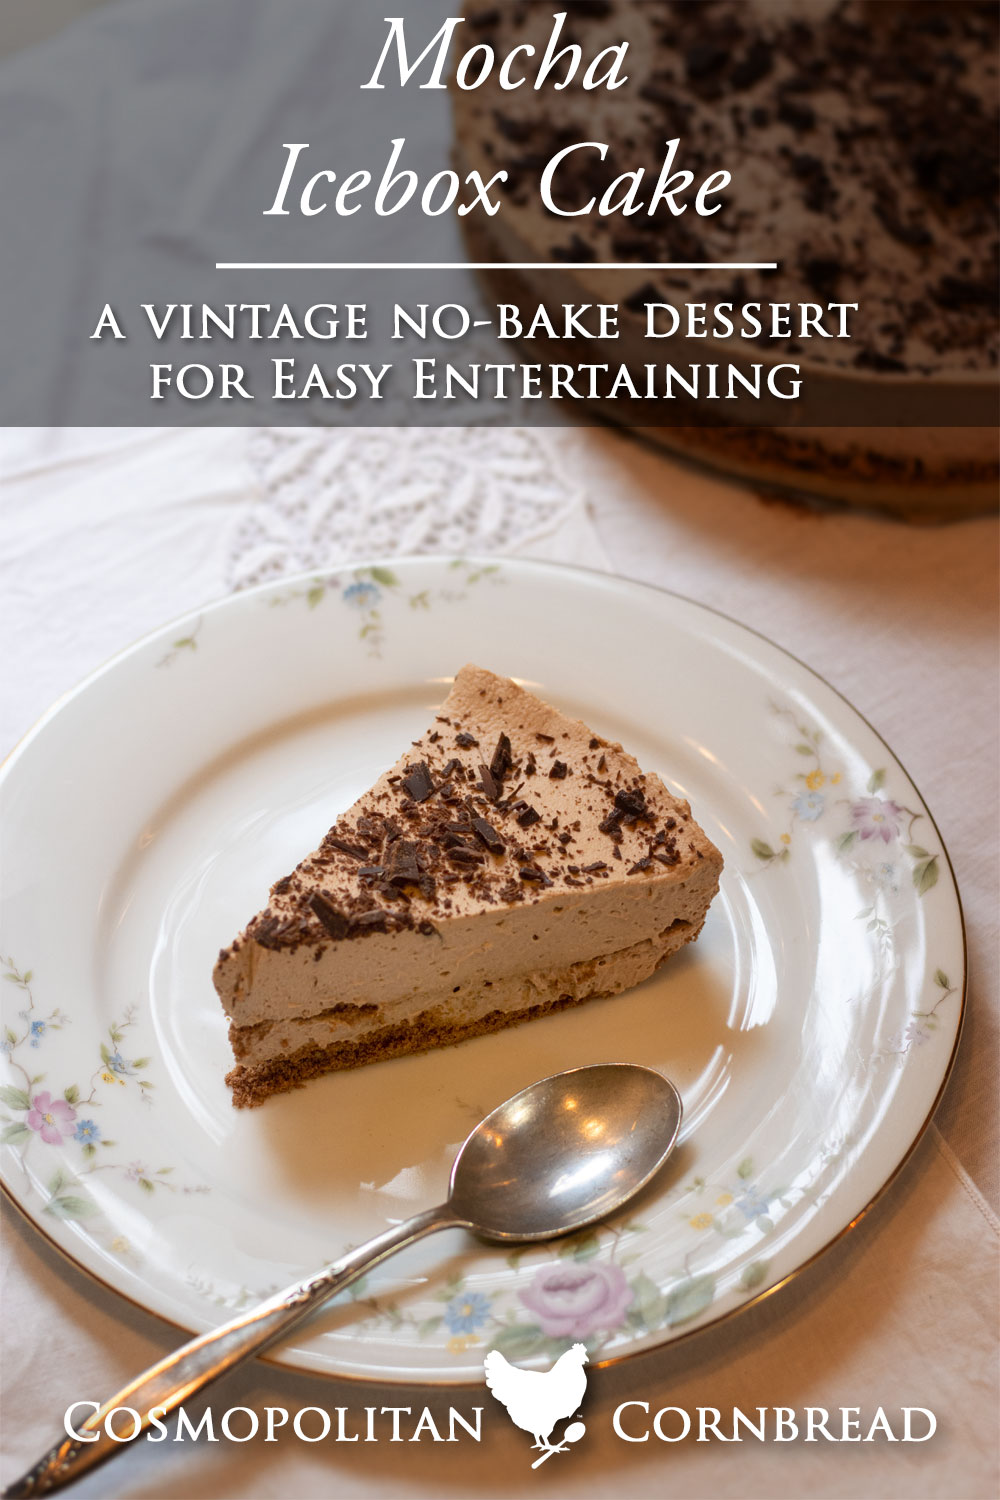
This easy Mocha Icebox Cake is a vintage no-bake dessert with smooth coffee flavor and classic charm. Perfect for make-ahead entertaining.
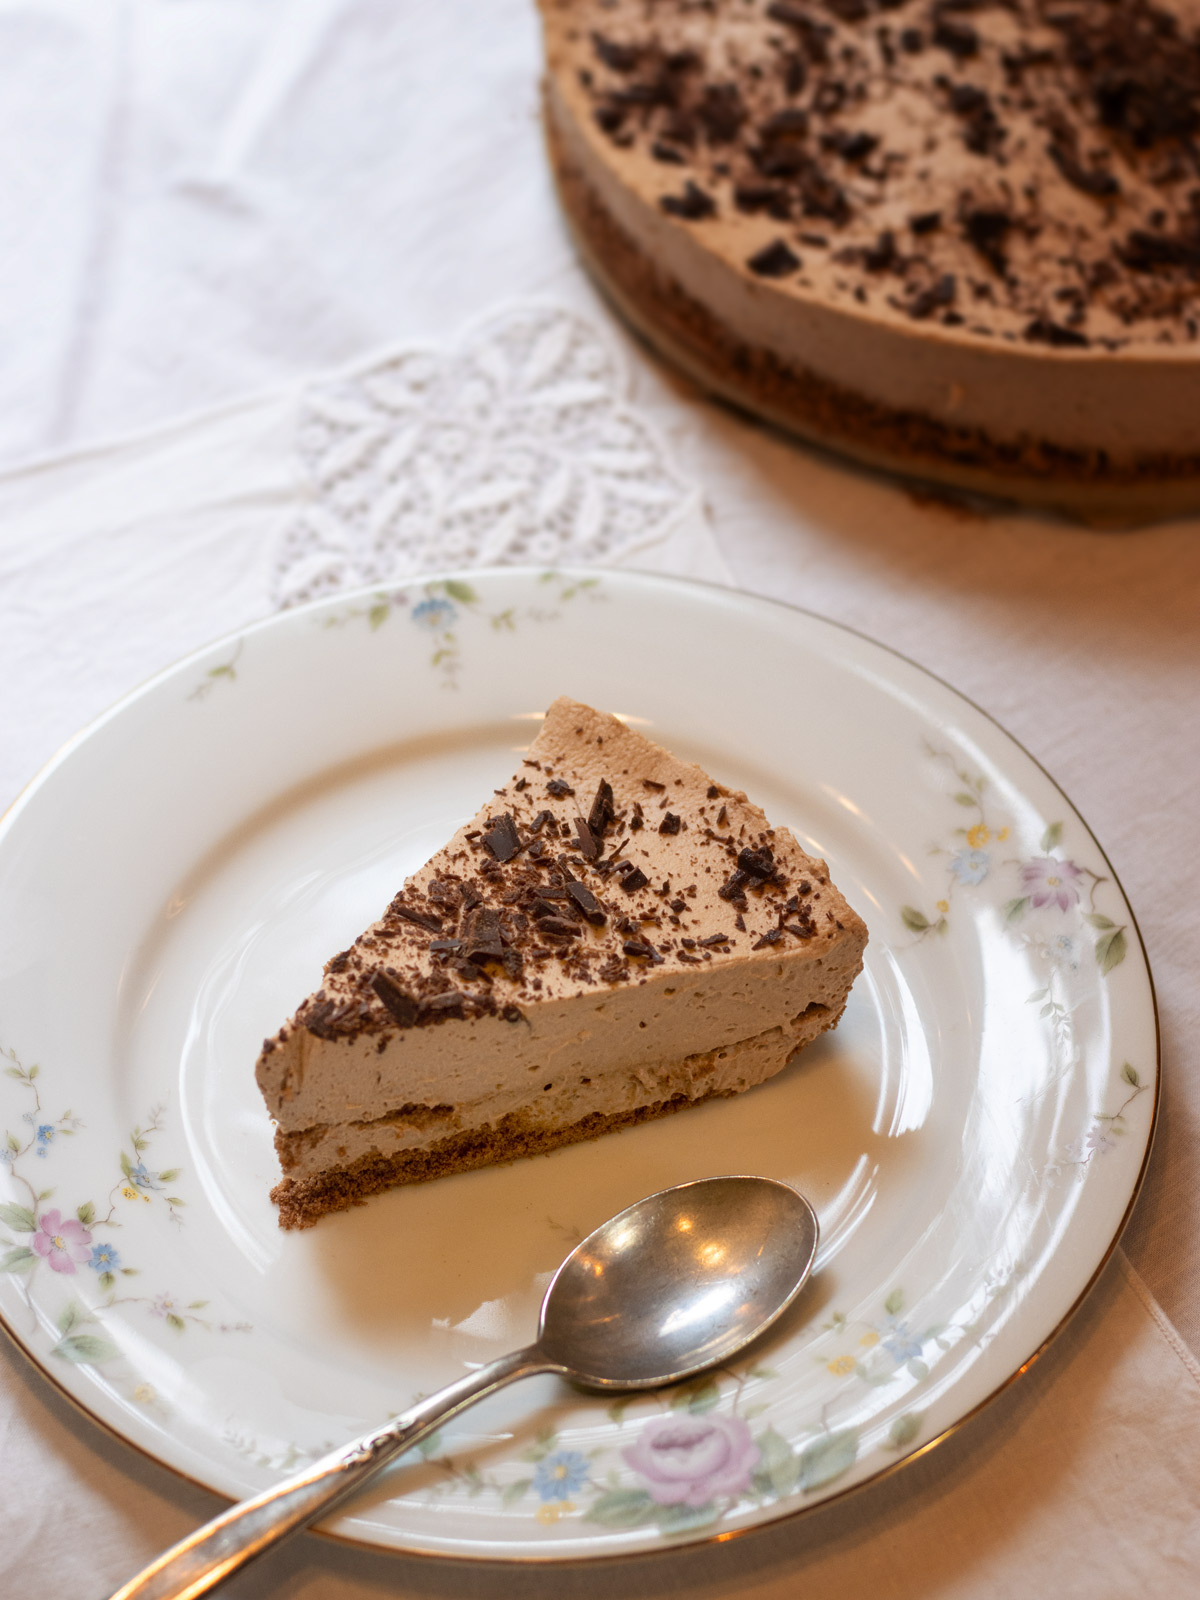
Mocha Icebox Cake is a decadent, no-bake dessert that brings together the deep, comforting flavors of coffee and chocolate in cool, creamy layers. Chocolatey cookie crumbs are gently nestled between clouds of mocha-infused cream, making this a tender, sliceable dessert with a cake-like texture—no oven required.
I typically add new content every week. Sign Up Here to get Cosmopolitan Cornbread in your Inbox, and Never Miss a Thing
Perfect for warm days, holidays, or effortless entertaining, this icebox cake is as practical as it is indulgent. It can be made entirely ahead of time, allowing the flavors to meld and deepen overnight, making it ideal for busy schedules or gatherings where dessert needs to be stress-free.
Mocha Icebox Cake is a timeless, crowd-pleasing treat that proves simple ingredients and a little patience can create something truly memorable.

To Make This Recipe You Will Need:
- crunchy chocolate cookies
- butter
- heavy whipping cream
- Mascarpone cheese
- granulated sugar
- baking cocoa
- vanilla extract
- instant espresso granules
- coffee liqueur (such as Kahlua)
- chocolate shavings
- mixer with mixing bowl
- springform pan
- parchment paper
- offset spatula
- Blender or food processor to make the cookie crumbs
To begin, line a round spring form cake pan with parchment or waxed paper. Set it aside for now.
Pulverize the cookies in a food processor. Scoop out 1/3 cup of the crumbs and set them aside.
The cookies I like to use to make this can be found HERE. If you can’t find crunchy chocolate cookies, you can also use chocolate graham crackers.
In a small mixing bowl, combine the rest of the cookie crumbs and melted butter. Stir them together.
Spread the crumb mixture in the bottom of your prepared pan and press them down. Set this aside for the time being.
In a chilled mixing bowl, combine whipping cream, mascarpone cheese, granulated sugar, cocoa, vanilla, coffee granules, and liqueur.
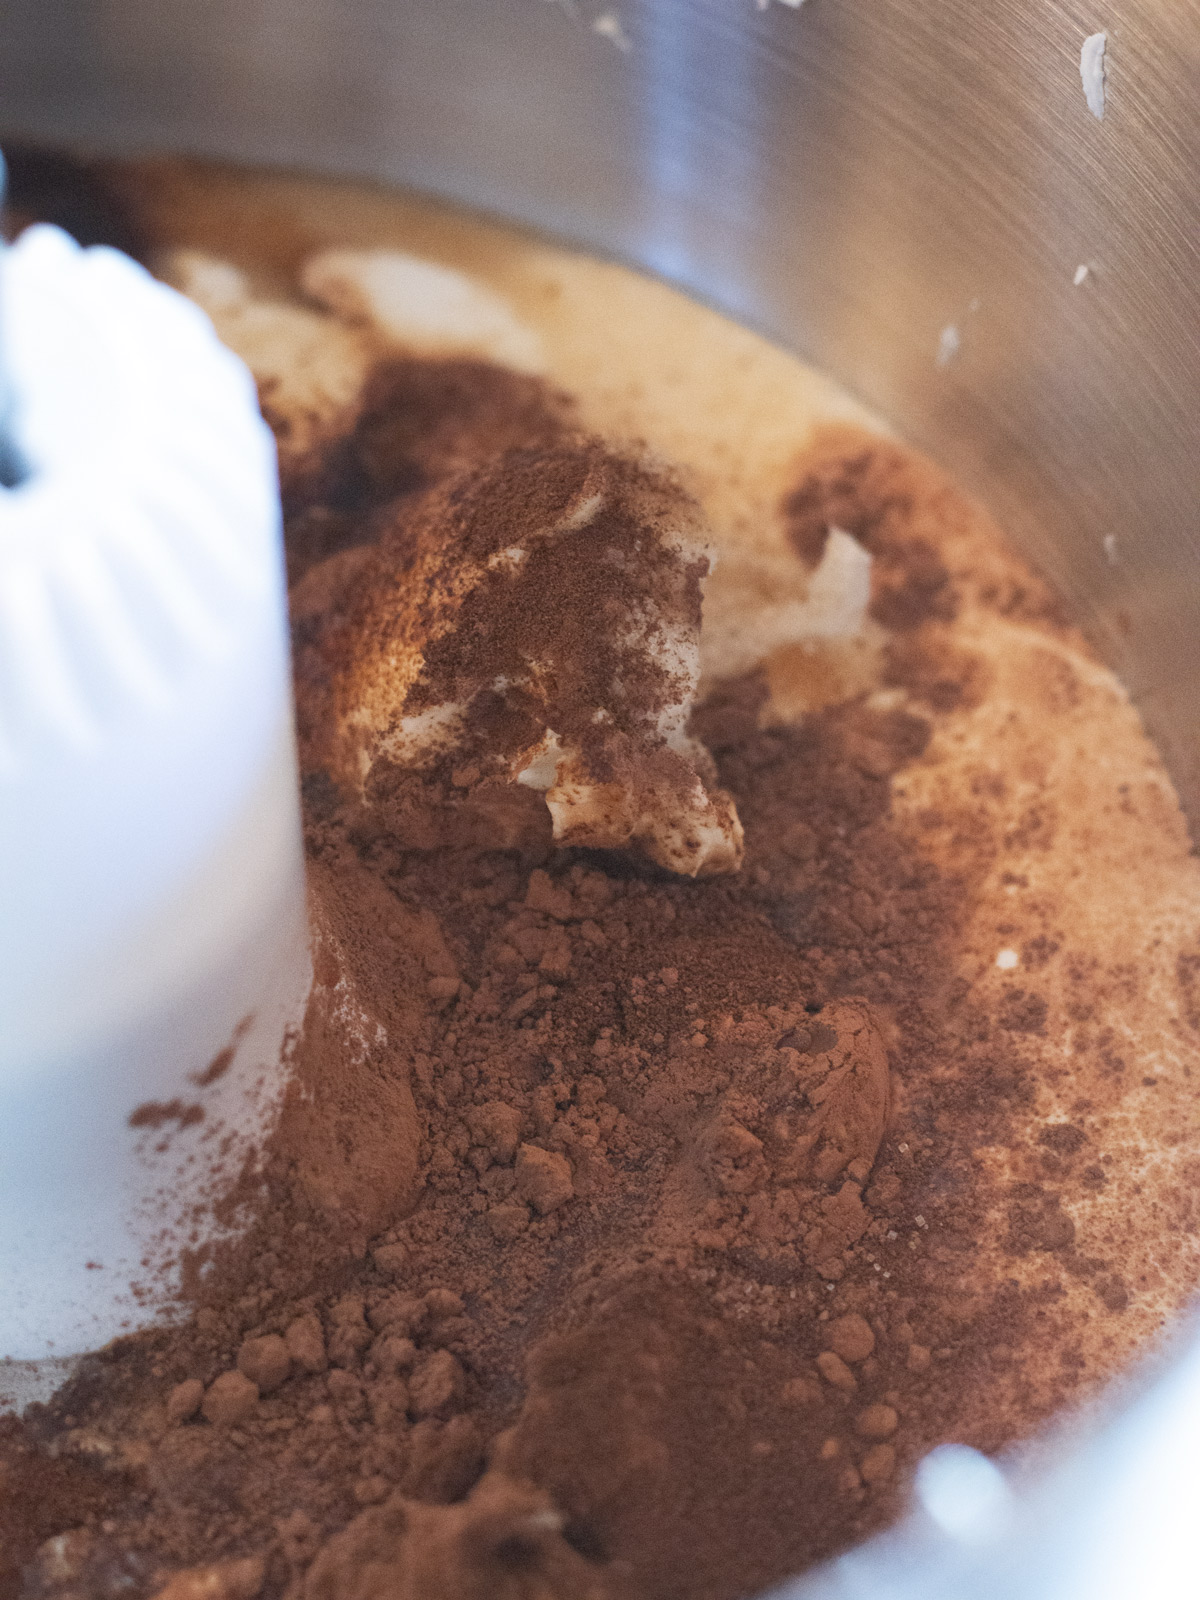
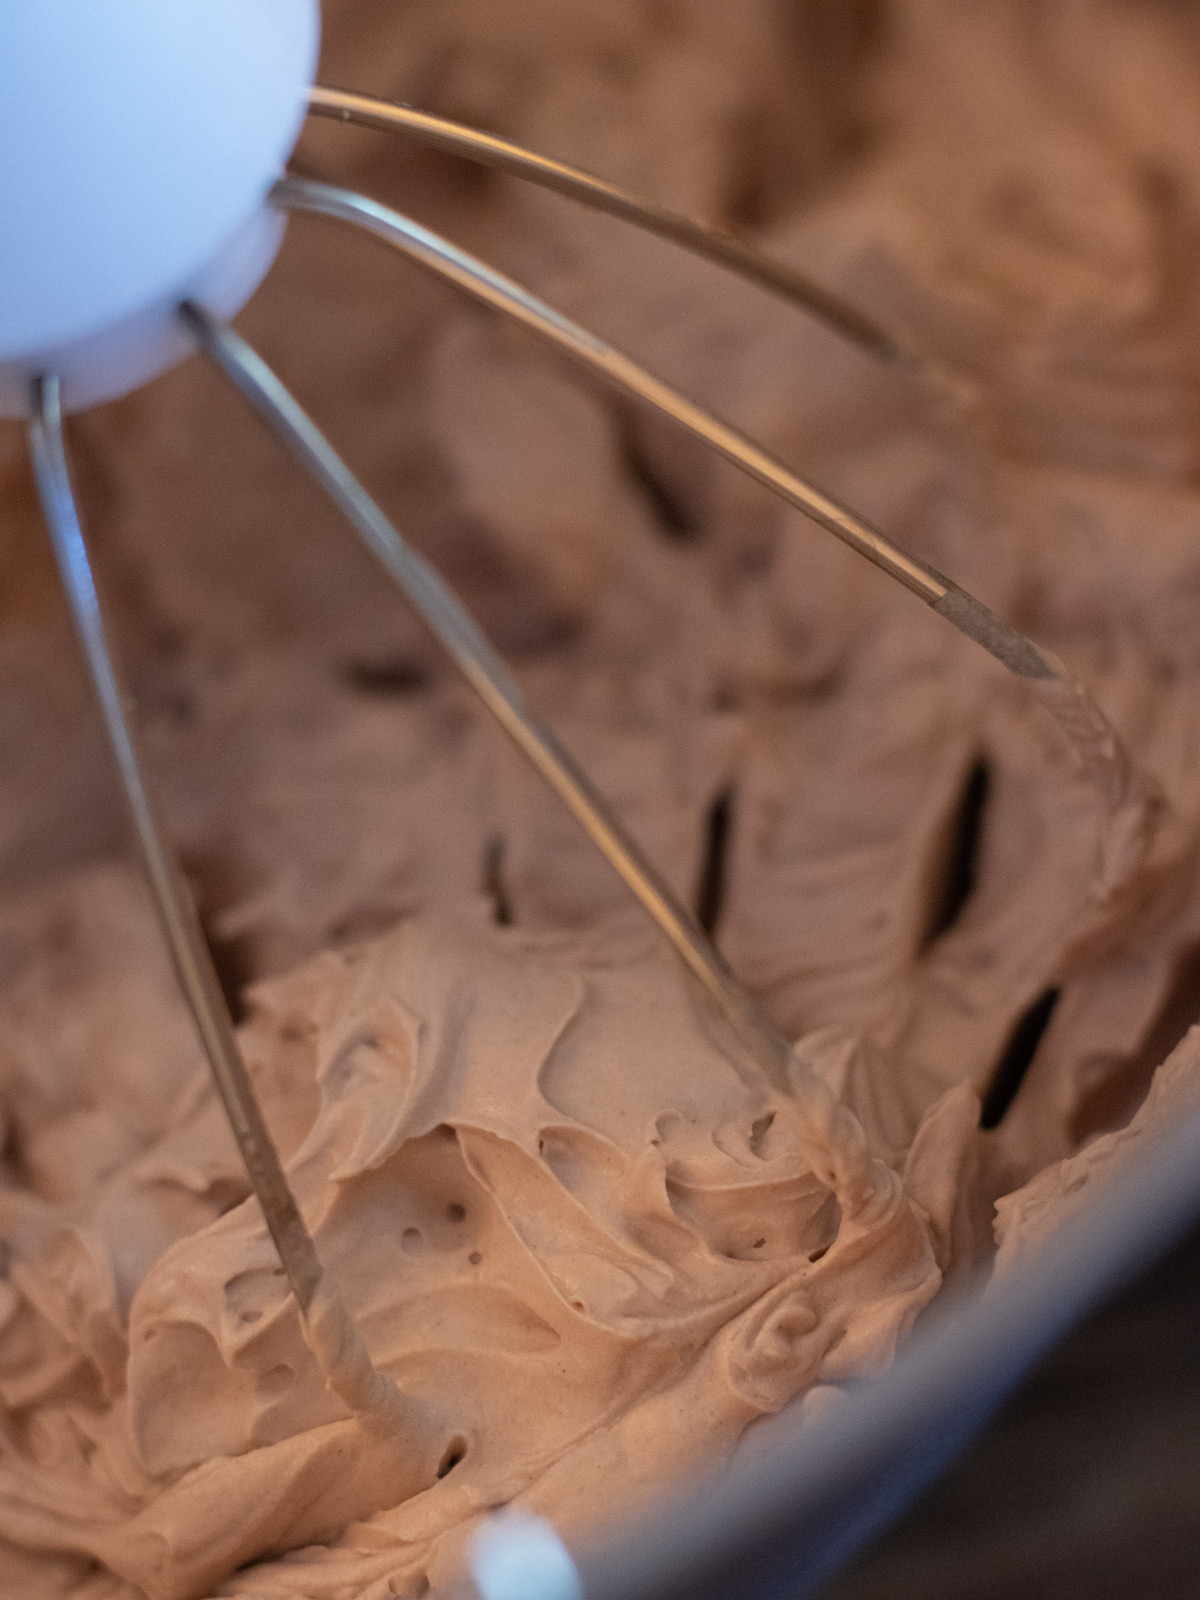
Mix it together slowly until incorporated. Then mix on high speed, beating until very fluffy with firm peaks – the consistency of a thick shaving cream.
Spread about half of the mocha mixture in the pan. Spoon it in dollops and then gently spread it out smooth using an offset spatula.
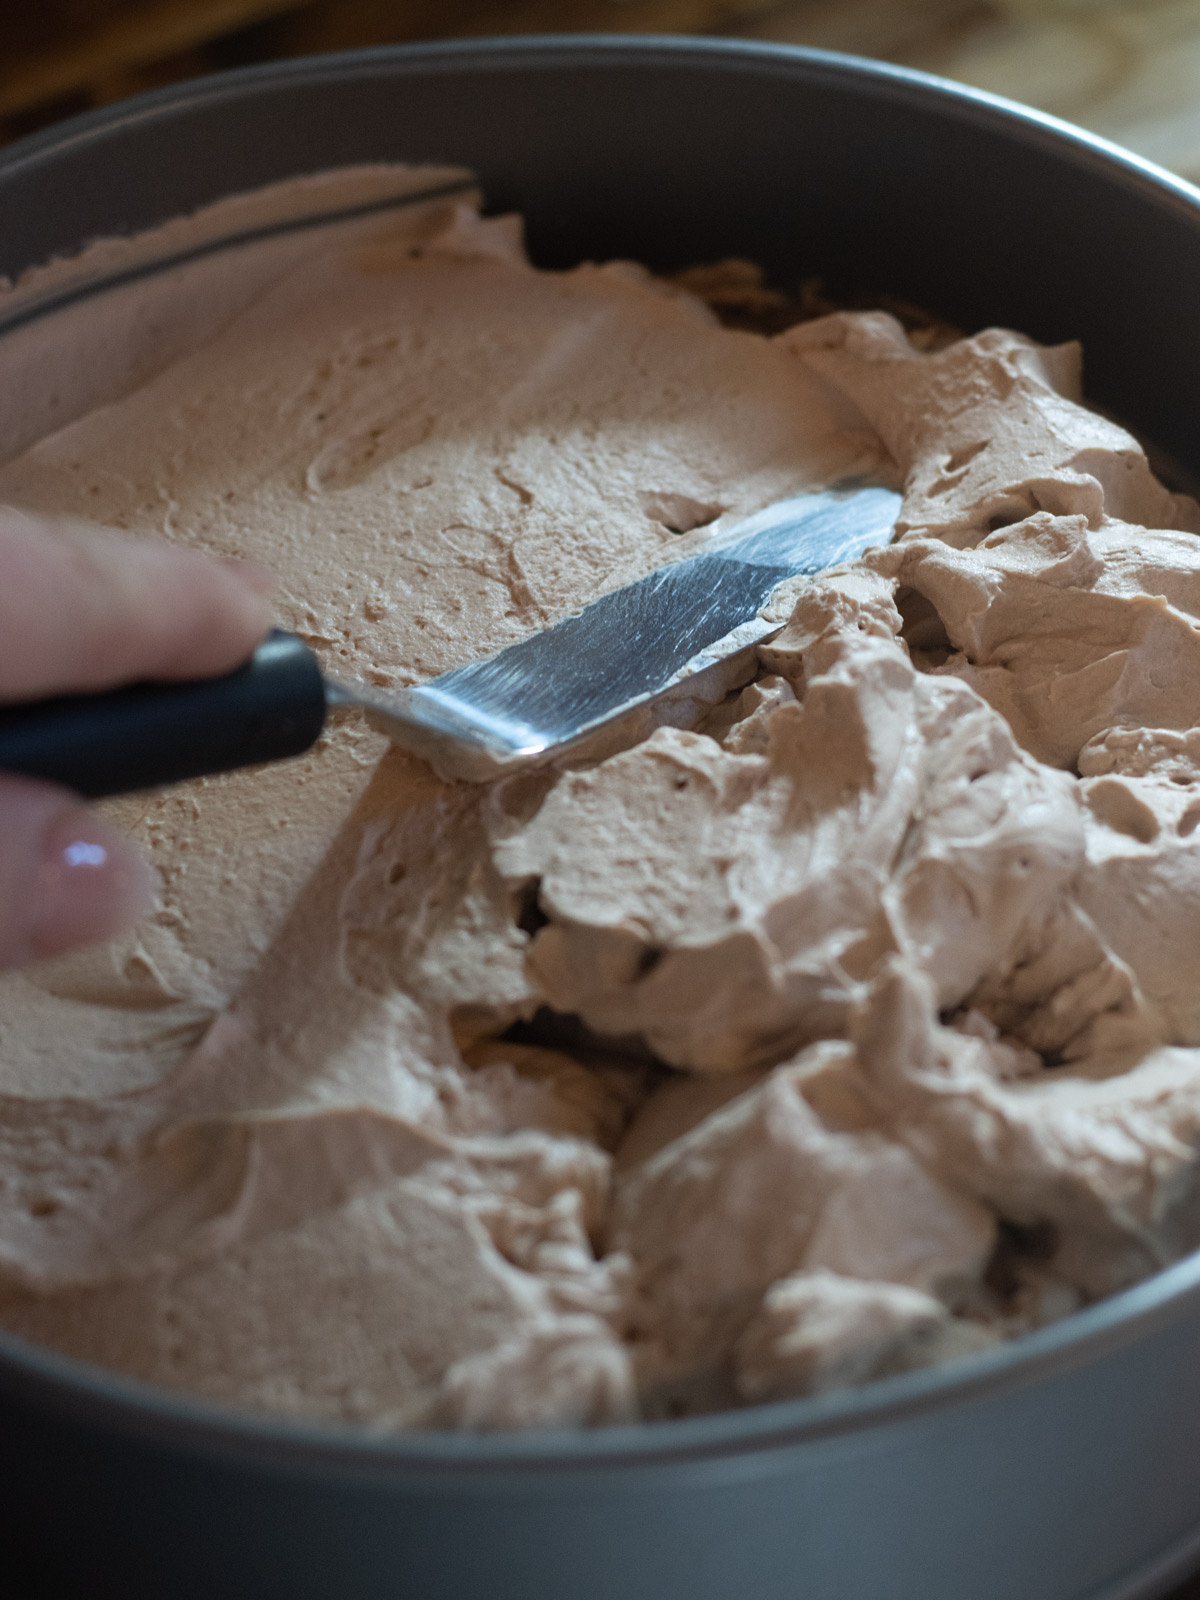
Sprinkle with the reserved cookie crumbs. Repeat with the other half of the filling.
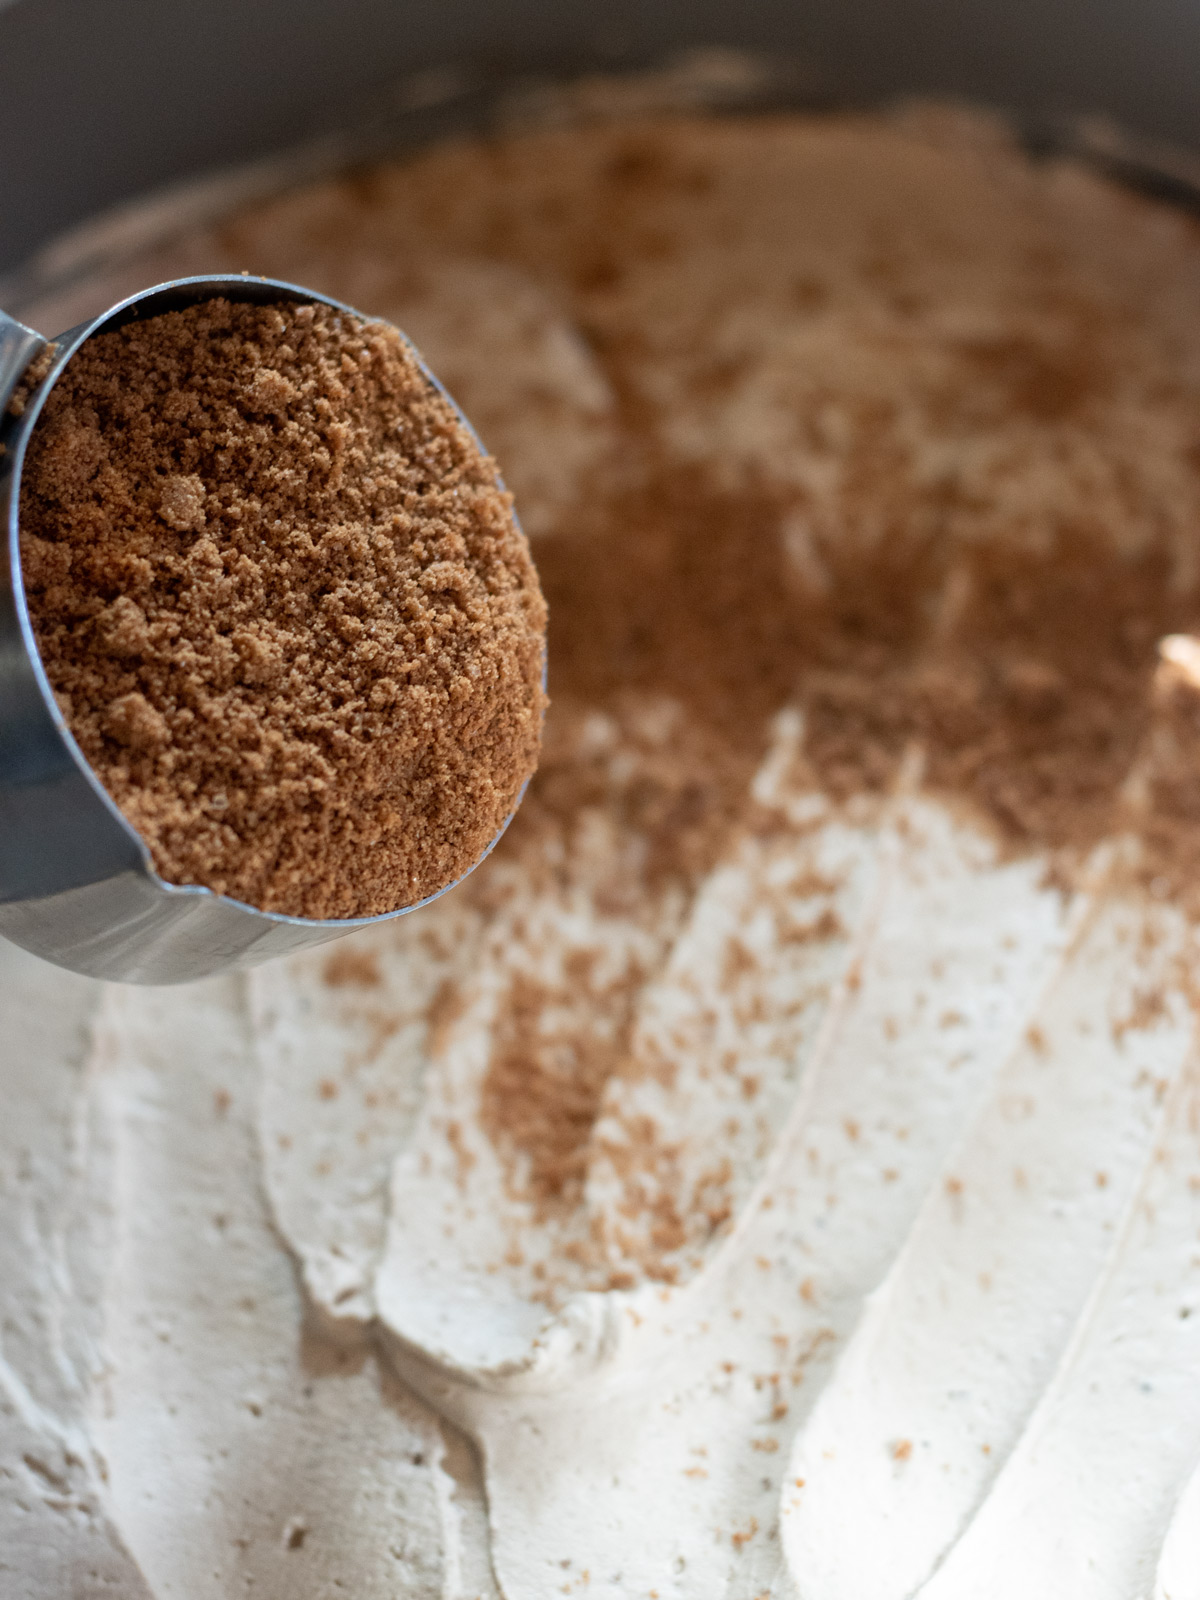
Sprinkle the top with shaved chocolate.

Cover the pan with foil or plastic wrap, and refrigerate it at least 8 hours, or overnight so that it can set up well.
Click Here for More MOCHA Recipes!
Enjoy!
Did you Make this Recipe? I’d love for you to give me a 5 star rating in the recipe card below. If you share it on Instagram, please tag me! You can also post it to my Facebook Page.

Mocha Icebox Cake
Ingredients
- 1 ¼ c chocolate cookie crumbs, divided, see note
- ¼ c butter, melted
- 1 pint heavy whipping cream
- 8 ounces Mascarpone cheese
- ½ cup granulated sugar
- 2 Tb baking cocoa, generous
- 1 teaspoon vanilla extract
- 1 Tb instant espresso granules, see note
- 2 Tb coffee liqueur, such as Kahlua
For Topping
- chocolate shavings, optional
Instructions
- To begin, line a round spring form cake pan with parchment or waxed paper. Set aside for now.
- Pulverize the cookies in a food processor. Scoop out 1/3 cup of the crumbs and set them aside.
- In a small mixing bowl, combine the rest of the cookie crumbs and the melted butter. Stir them together.
- Spread the crumb mixture in the bottom of your prepared pan and press them down. Set this aside for the time being.
- In a chilled mixing bowl (and beaters), combine whipping cream, mascarpone cheese, sugar, cocoa, vanilla, coffee granules, and liqueur. Mix it together slowly until incorporated. Then mix on high speed, beating until very fluffy with firm peaks – the consistency of a thick shaving cream.
- Spread about half of the mocha mixture over the cookie mixture in the pan. Spoon it in dollops and then gently spread it out smooth using an offset spatula. Sprinkle with the reserved cookie crumbs. Repeat with the other half of the filling.
- Sprinkle the top with shaved chocolate.
- Cover the pan with foil or plastic wrap, and refrigerate it at least 8 hours, or overnight so that it can set up well.
- Enjoy!
Equipment Used
- small mixing bowl
- offset spatula
- Blender or food processor to make the cookie crumbs
Notes
Nutrition
If nutritional values are provided for this recipe, they are an estimate and will vary depending on the brands of ingredients you use. The values do not include optional ingredients or when ingredients are added to taste or for serving. If nutritional values are very important to you, I suggest using your favorite nutritional calculating tool with the brands you use.
Unit Conversions:
Unit Conversion for measurements (if displayed), going from US to Metric is an auto-generated conversion. If you are using the metric measurements, please double-check to confirm that these are accurate with your favorite preferred conversion tool.
This recipe was originally published in 2011. Updated in 2026.
I made this for my husband. He loved it! It’s a simple recipe to put together, and I’ll definitely make it again.
So glad you and the hubby liked it!
Oh my! This looks divine!