
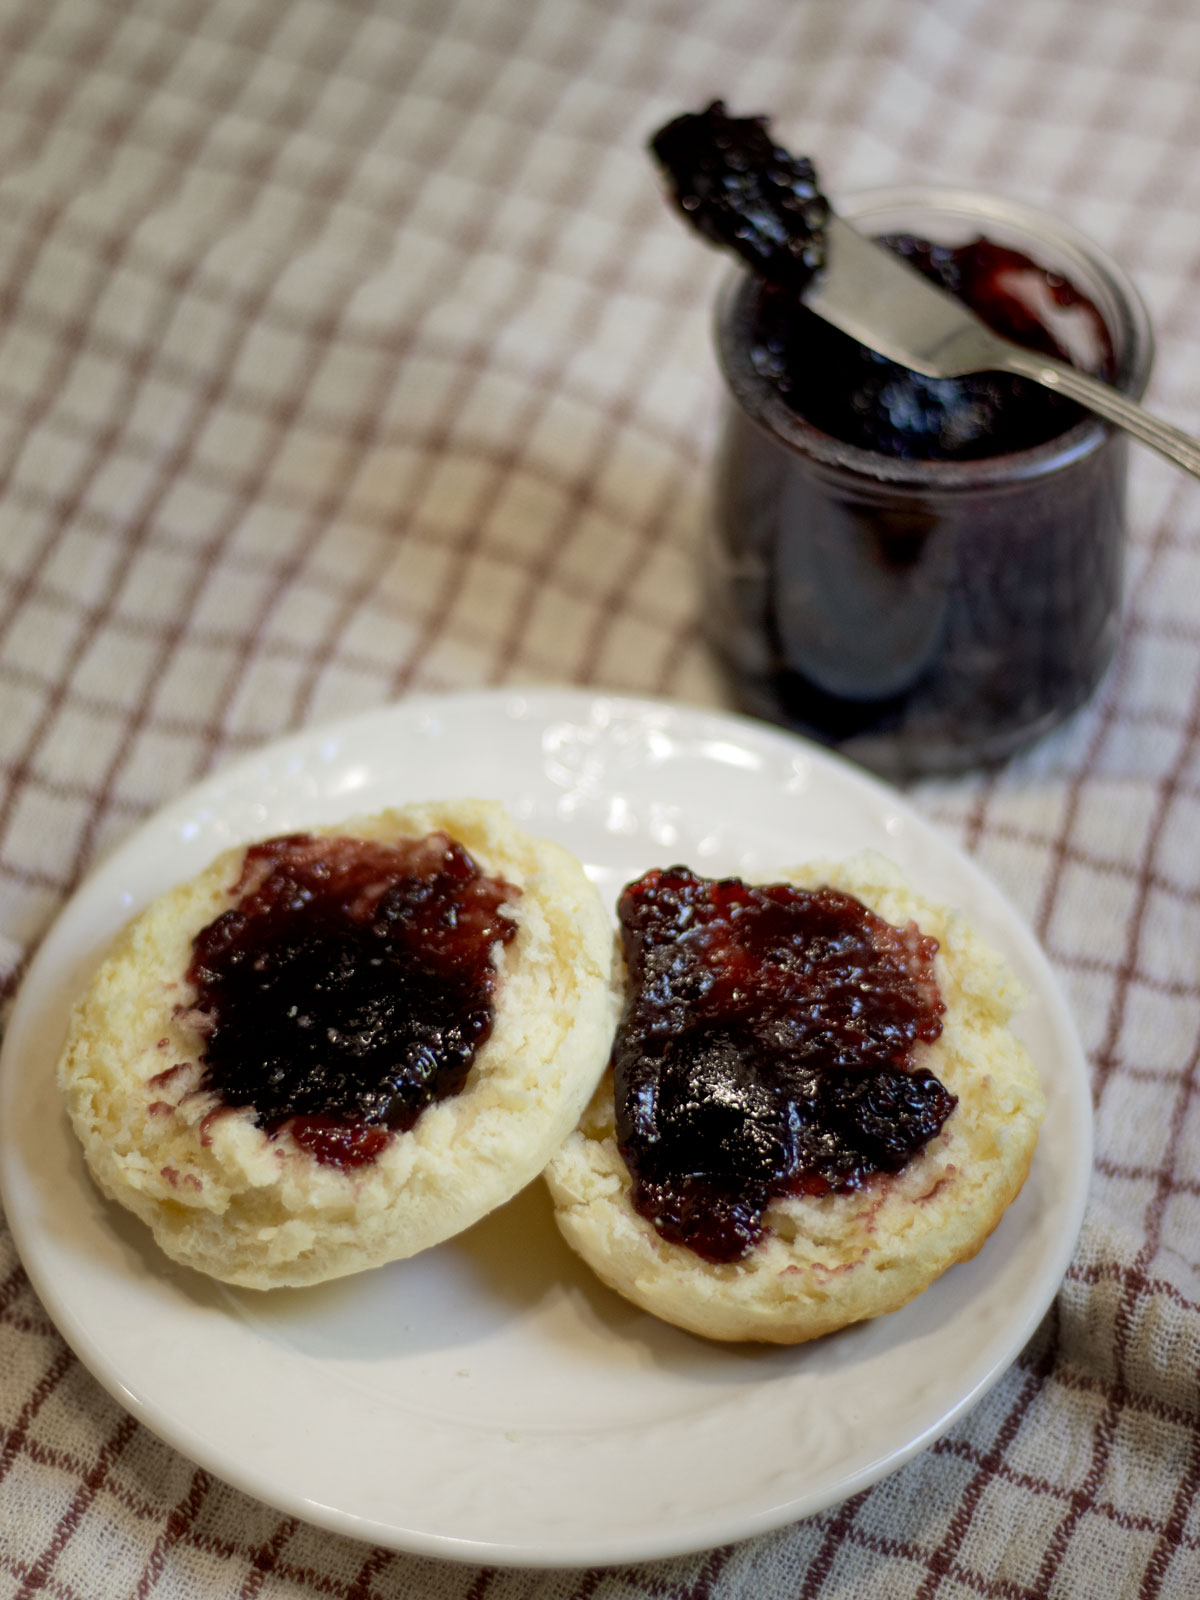
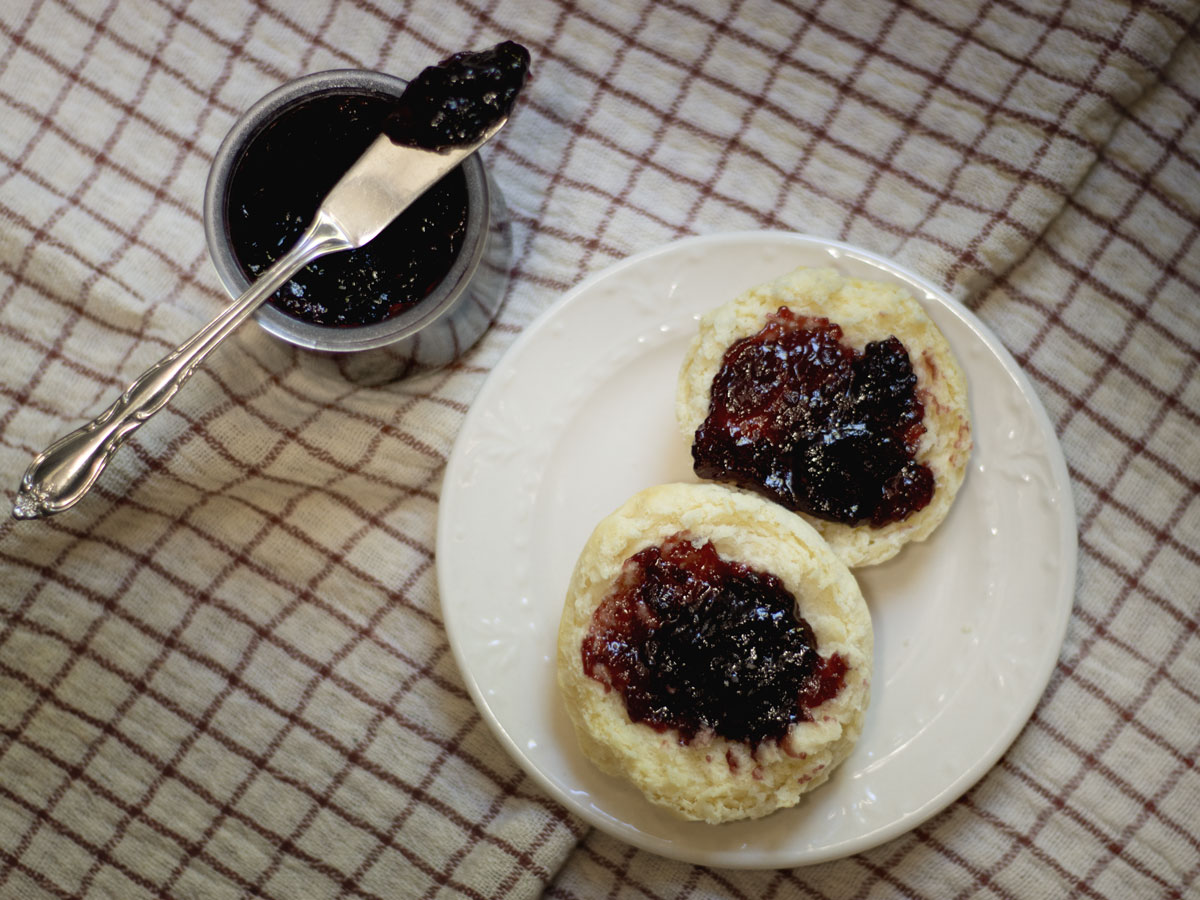
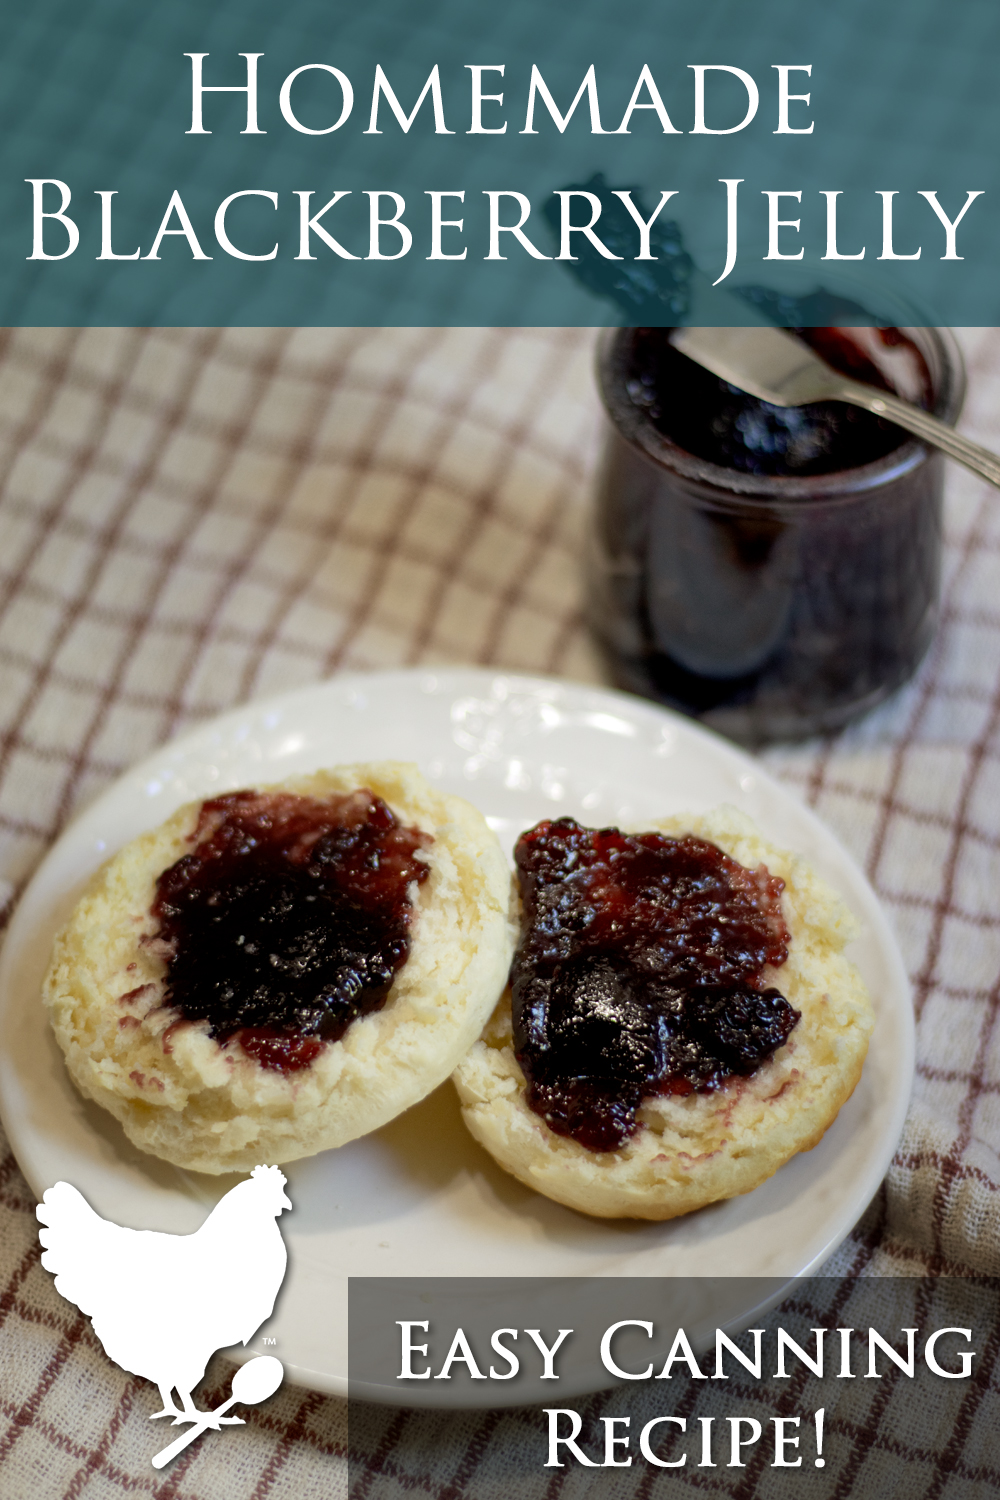
Homemade Blackberry Jelly captures the essence of summer in a jar. It’s that perfect balance of sweet and tart that melts on your tongue, bringing forth a nostalgic reminder of berry-picking adventures.
I have been canning foods and filling the pantry ever since my children were very little. Looking back, I can tell you that the very first thing I ever canned was this very Blackberry Jelly.
I had discovered the ultimate treasure trove of blackberry patches, and couldn’t resist putting them to use.
After making my first batch of jelly, I was hooked! I’ve been canning ever since.
I typically add new content every week. Sign Up Here to get Cosmopolitan Cornbread in your Inbox, and Never Miss a Thing
To Make This Recipe You Will Need:
- blackberries
- large, non-reactive pot
- water
- fine mesh sieve
- powdered pectin
- butter, unsalted (optional, see instructions)
- Hot Water Bath Canner or Steam Canner
- jelly jars (half pint)
- cheese cloth or jelly bag
- Canning Tools
- white vinegar
- small bowl
- clean cloth or paper towel
IMPORTANT NOTE: Because this jelly will process for under 10 minutes, your jars and equipment will need to be sterilized in preparation for the canning. See Article: Prepping for Canning and How to Sterilize Jars
Like I mentioned, this recipe is very simple to make. You will begin by extracting the juice from the berries. I do this whether I am using fresh or frozen berries. The method shared below in the recipe simmers the berries.
There are many blackberry jelly recipes out there that just tell you to press the blackberries raw. However (I have it on good authority from my dear friend) that this makes it much harder to get the juice out. Skipping the simmer will not save you time.
Once you juice the berries, you can freeze any excess, or can it as simply juice.
When canning in a hot water bath canner (or steam canner) always make note of the processing time. If the recipe only has one time shown, that is generally for 1-1,000 feet of elevation. Visit this article to learn how to make adjustments to the recipe for YOUR elevation: How to Adjust Canning Recipes for Elevation
Can I Use Frozen Berries from the Store?
Absolutely! It’s a great way to make homemade jelly any time of the year!
Click Here for More Jelly & Jam Recipes!
Did you Make this Recipe? I’d love for you to give me a 5 star rating in the recipe card below. If you share it on Instagram, please tag me! You can also post it to my Facebook Page.
Blackberry Jelly
Ingredients
- 6 cups blackberries, washed and sorted (remove any stems, debris, etc.)
- ½ cups water
- 1.75 ounces pectin, 1 box of standard pectin or 1/3 cup if using bulk pectin
- ½ teaspoon butter, optional (see note)
- 3 cups granulated sugar
- 2 Tb lemon juice
Instructions
- To begin, prepare your jelly jars and canning equipment. Always start with freshly washed tools, jars, etc.
- NOTE: Because this jelly will process for under 10 minutes, your jars and equipment will need to be sterilized in preparation for the canning.
- You will want to sort through all of your berries, removing every piece of stem or leaf, or debris that you can find. Wash the berries well and strain out the water.
- Place 6 cups of berries in a large, non-reactive pot. Add in 1/2 cup of water and begin to simmer the berries. Stir often, and as they begin to soften, use a potato masher to mash up the berries as much as you can.
- Ladle the berry mixture through a jelly bag strainer, or a sieve/colander that is lined with several layers of cheese cloth. You will need 3 1/2 cups of the juice.
- Wash your pot, then add the 3 1/2 cups of juice back into it. Add the pectin, lemon juice and butter.
- The butter prevents the jelly mixture from foaming up. This is optional. If you don't want to add it, you can omit it, but you'll need to skim the foam from the jelly before jarring it up.
- Bring this mixture up to a rolling boil, and boil hard for 1 minute, stirring continually.
- Add the sugar. Bring it back to a rolling boil again, and boil it hard for 1 full minute. Test the jelly to make sure it has gelled. If it hasn't, boil it a little longer, and test it again.
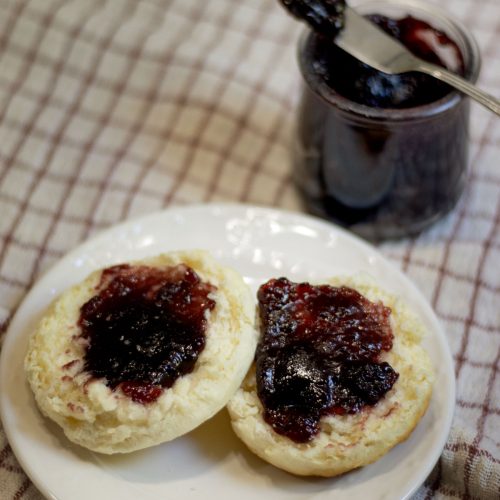
- Ladle the jelly into hot jars leaving 1/4 inch head space.
- Remove any bubbles with a bubble wand, then wipe the rim of the jars with a damp cloth dipped in white vinegar.
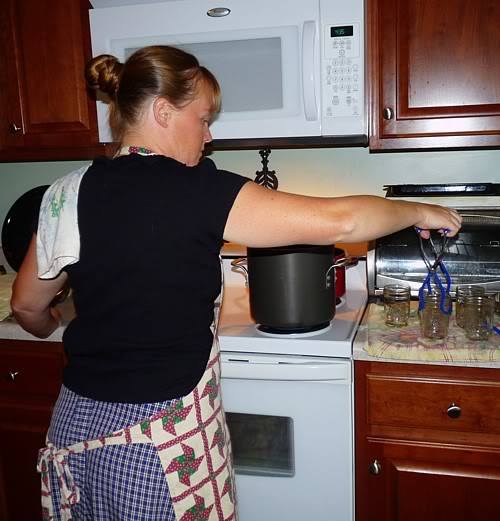
- Place a lid and ring on the jar and place the jar in the hot water bath or steam canner. Do this with all of the jars.
- Process the jars for 5 minutes. (See the note about adjusting time for elevation in the article above. Processing times for canning recipes are always give for under 1000 ft elevation. You must make adjustments if you live at a higher environment.)
- After the jars have processed, turn off the heat, remove the lid of the canner, and let the jars rest for 5 minutes.
- Transfer the jars to a lined surface in a draft-free location and let them sit for 12-24 hours. You can cover your counter with folded kitchen towels, or use a cooling rack.
- Remove the rings, test the seals, wash and label the jars. Store them away in the pantry.
- Enjoy your homemade blackberry jelly!
Equipment Used
- small dish
- jelly jars 8 ounce
- jelly bag or cheese cloth
- mesh sieve or fine strainer
- stainless steel pot or other non-reactive pot
Notes
Nutrition
If nutritional values are provided for this recipe, they are an estimate and will vary depending on the brands of ingredients you use. The values do not include optional ingredients or when ingredients are added to taste or for serving. If nutritional values are very important to you, I suggest using your favorite nutritional calculating tool with the brands you use.
Unit Conversions:
Unit Conversion for measurements (if displayed), going from US to Metric is an auto-generated conversion. If you are using the metric measurements, please double-check to confirm that these are accurate with your favorite preferred conversion tool.
I love hearing from you! Comments, thoughts and questions are always welcome. Manners are requisite. Your email address is never published. Don't forget to rate recipes!